

Like many Tumblr trawling, movie loving dorks my age; it seems that whilst my taste in foods, art and fashion has matured over time, my love of childhood cartoons has remained as fierce as ever! Seriously, my ability to recite every line (and lyric!) to most of the classic Disney movies has become the stuff of legends!
So, when a friend of mine came to me requesting a 21st birthday cake in the shape of a minion from the movie Despicable Me (possibly the cutest characters to gain a cult-like following since Shrek's Puss in boots pulled his famous 'innocent kitty face') I became unnaturally excited. I may have even squealed a little...
If you have been living under a rock for the past couple of years and don't know what a minion is:
- I feel very sorry for you! Patrick Star is the only one who should be living under a rock.
- Never fear, check out the video below and witness their goggled adorableness!
Naturally I immediately agreed to make this wonder-cake! I had everything planned out: I gathered my ingredients and had my time plan written out for which days I would make the decorations, the cakes, assemble everything etc. All was going according to plan. So naturally, a spanner was just waiting to come flying into my works!
Four days before I was planning to start baking a trip to the doctor saw me being booked in for surgery on a busted hand three days later (who says playing sports is good for you?!). This was a bit of a problem as anyone who may have attempted to make and decorate a cake one handed would know and so I ended up having to hurriedly do the cake earlier than I would have liked. Nevertheless, despite a few imperfections I was really pleased with how it turned out and the birthday girl was totally thrilled with it! Winning!
FYI I am typing this post one handed (with the other stuck in a sling!) and up to my eyeballs on painkillers and codeine, so please excuse any grammatical errors and/or generally terrible writing!
I used two chocolate mud cakes and a white chocolate mud cake but you could use whatever type or flavour of cake/frosting you want, just make sure the cake is dense enough to support the weight of the other cakes being stacked on top!
So, here is how my delightful little Minion came to (a rather hurried) fruition!
Firstly, I had some leftover white fondant I had made for a cake recently and so I tinted the majority of it 'Buttercup Yellow' for the minion's body using Wilton brand gel colouring. I find that gel colourings give a much better result than the cheaper liquid colourings you buy from the supermarket, not only giving a more vibrant colour but also they aren't as 'wet' so they don't make the fondant as sticky (trust me, its sticky enough as it is!).
Next up I made the decorative exterior pieces that would be attached to the main body so that they would have a couple of days to dry out. Apart from the skinny yellow arms I used some store bought fondant I had lying around for these pieces and it was really noticeable how much faster they dried than the homemade fondant so if you are in a hurry I would recommend using the store bought variety or else adding some tylose powder when making your own so that you don't end up with droopy decorations!

As you can see I made:
- two little arms
- two little black-gloved hands (notice they are clenched into fists so they will be able to hold a candle each)
- two little boots with toothpicks stuck in them to keep them attached to the body
- 8 strands of hair
- 4 little buttons to go on his overalls
- A circular goggle with two bullet-shaped hinges to go on either side
For the goggle I rolled out some black fondant and cut it into a strip about 10cm wide then wrapped it around a circular jar lid of the same width to let it set hard (you could use a glass, bottle or whatever other cylinder-shaped object you have lying around which is the same size you want the goggle to be). Before it set too hard I used a skewer to add some details like a little screw holes around the edges. To make the little hinges to sit beside the goggles, I rolled out two little snakes of fondant and used the back of a knife to make a little groove around each end. I grabbed some silver lustre dust and used a dry paintbrush to paint it onto both the goggle and the hinges, giving it an awesome metallic look!
Next came the ganache. Using the usual 2:1, dark chocolate to cream ratio I made the ganache and let it cool completely before refrigerating it overnight to allow it to set.
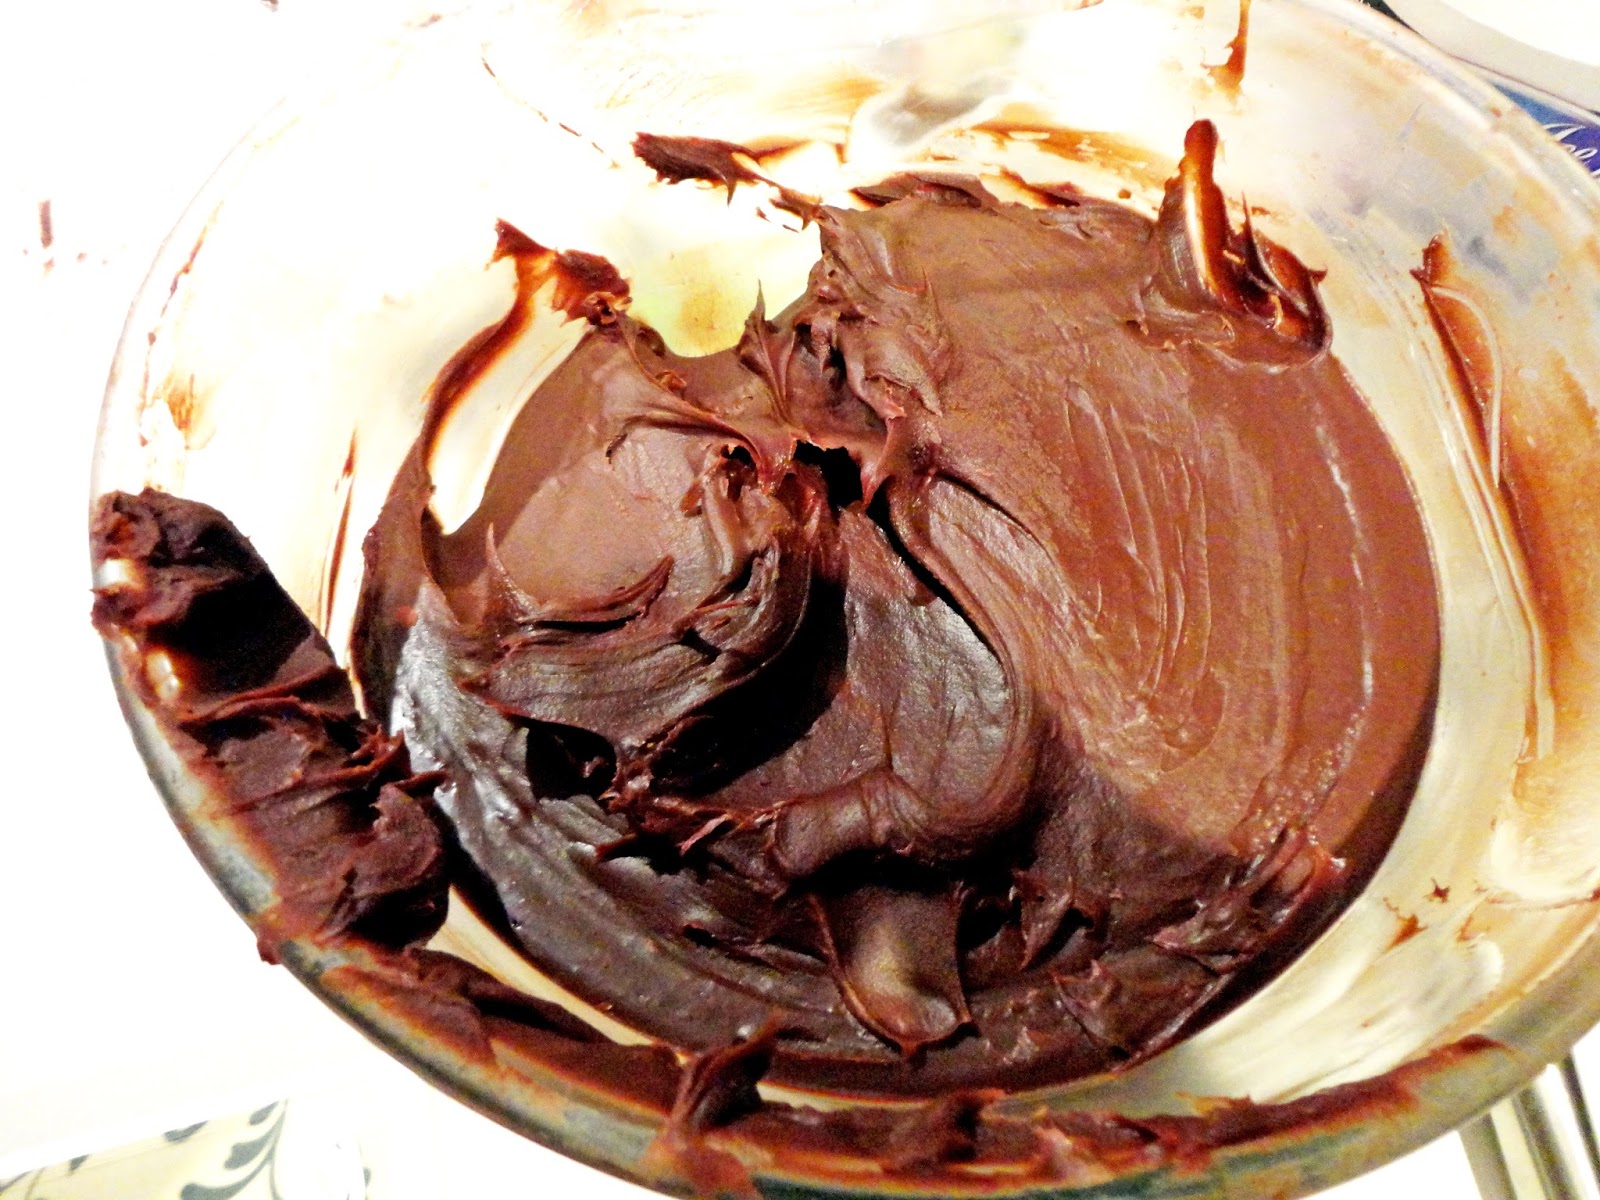 | |
| Chocolate goodness! |
Decorations and ganache done, now for the cake baking. For this cake I used two chocolate mud cake (one baked in a 20cm round pan and the other in a Pyrex bowl to give me the rounded head!) and one white chocolate mud cake (baked in a 20cm round pan). Once they had cooked and cooled (at this stage it was about midnight! Ugh!) I wrapped them securely in glad wrap and left them overnight while I grabbed a few much-needed Zzz's!

The next morning I grabbed my cake board, trimmed my cakes to make them perfectly flat and then go on with stacking them up. To do this I started with my non-domed chocolate cake as the base, the white chocolate in the middle and the domed chocolate cake on top. Each layer was sliced in half, brushed with an apricot syrup to ensure it remained moist and then sandwiched together with a smearing of ganache. Once stacked the entire structure was coated in a 'crumb coating' of ganache.

Normally I would have let him sit like this overnight but being short on time I stuck him in the fridge for 15min and the let him sit out in my nice dark lounge room whilst I went to work. When I got home I gave him a second coating with ganache and smoothed it as best as I was able. Back into the fridge he went again to speed up the hardening process and then I whipped him out and dressed him in yellow fondant.
If I had my time again I would have simply rolled out one piece of fondant and covered the entire cake with the one piece. Instead I chose to cover the domed part of his head and then wrap the rest of his body in one long rectangular piece with the line where the two pieces of fondant met being covered by the Minion's goggle strap.
 | |
| Little fondant hat! |
As you can see from the above photo, the cake was not entirely smooth and even though it improved a lot once I finished covering and smoothing it, it still wasn't quite perfect. Guess this is another one of those 'next time when I'm not so rushed' situations - next time I will definitely take the time to properly hot water and completely smooth the cake.
Once the yellow fondant was in place it was really simply a matter of adding the decorative details using a little tylose powder mixed with hot water as glue.
I used rolled blue fondant to fashion his little overalls and used a tracing wheel to create some 'stitches' for extra effect! I also gave them a light dusting with the same silver lustre dust I used on the goggles to make them look more like denim and less like he just walked off a blue screen set! Last but not least his little black buttons brought the whole outfit together perfectly.
 |
| Not happy with his back... grrr! |
Cut out a big, toothless mouth and run a strip of black fondant around his head to act as the strap for his goggles.
 |
| One blind minion! |
Cut out a circle of white fondant slightly smaller than the size of the goggle and stick a smaller circle of brown fondant on top, with an even smaller circle of black fondant on top of that brown layer to act as the pupil. Stick a tiny white fondant dot half on the brown and half on the black so that it looks like the eyes is 'glistening' and stick the whole eye in place on the cake.
 |
| I See You! |
Time to play dentist and give him some pearly whites using the leftover white fondant.


Cut out a 'G' symbol from your black fondant and stick it to the front of his overalls. He is now an official member of Gru Corp.!
To complete the eye you simply need to stick on your goggle. I was expecting to need toothpicks to help support its weight and keep it in place, but to my delight no such tools were necessary! Remember when I said the homemade yellow fondant didn't dry very fast? Well it's pliability finally paid off! Because of its softness, when I applied some edible glue around the rim of the goggle and pressed it onto the cake it sank into the icing and lo-and-behold, stayed fixed in place all by itself!

Prick the top of his head with a toothpick and plug these holes with his strands of hair using a little more edible glue.

Almost there!
Last but not least, attach his little feet and arms. Use toothpicks to attach his gloves onto the arms and stick a candle in each hand.

TA-DAAAA!!!
One happy minion, one awesome cake and, most importantly, one extremely excited birthday girl!
Typing this post one handed had been a nightmare so I am officially OUT!
Happy baking!
No comments:
Post a Comment