
I admit it.
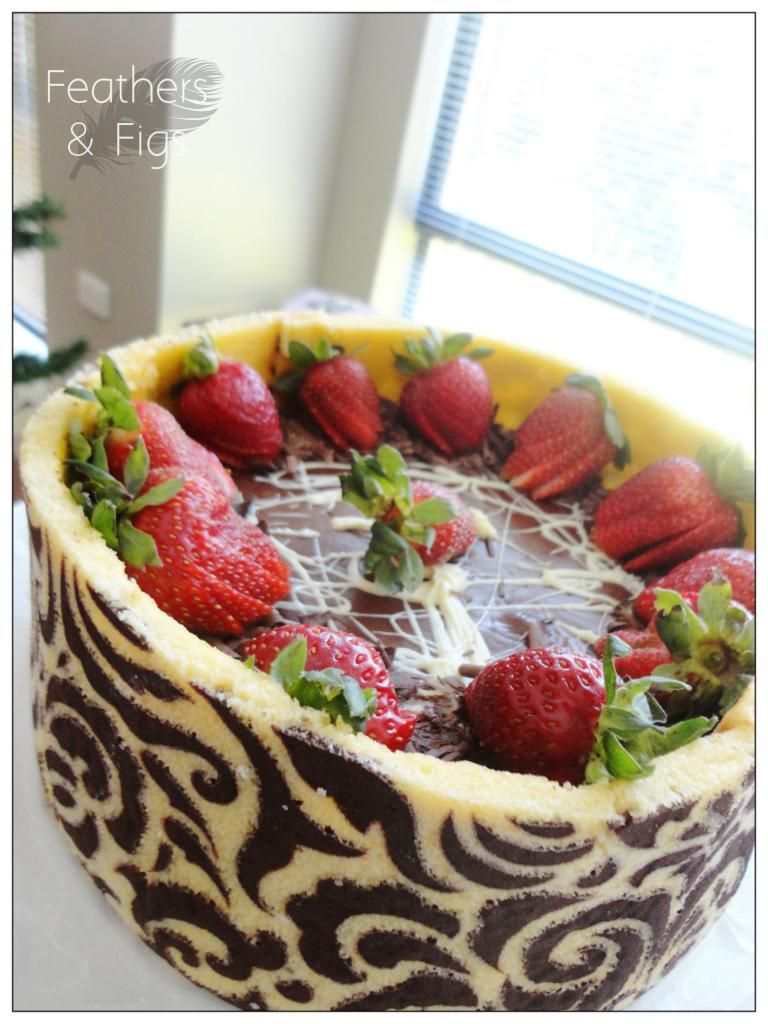
I am a sucker for pretty things and, when those pretty things are filled with chocolate mouse, ganache and topped with strawberries - just scrape me up off the floor right now!
Last weekend I finally had the chance to make this cake which I had been hanging out to do since buying my new damask baking stencil and so when my friend requested a cake for her birthday I couldn't wait to whip out the trusty KitchenAid and get cracking.
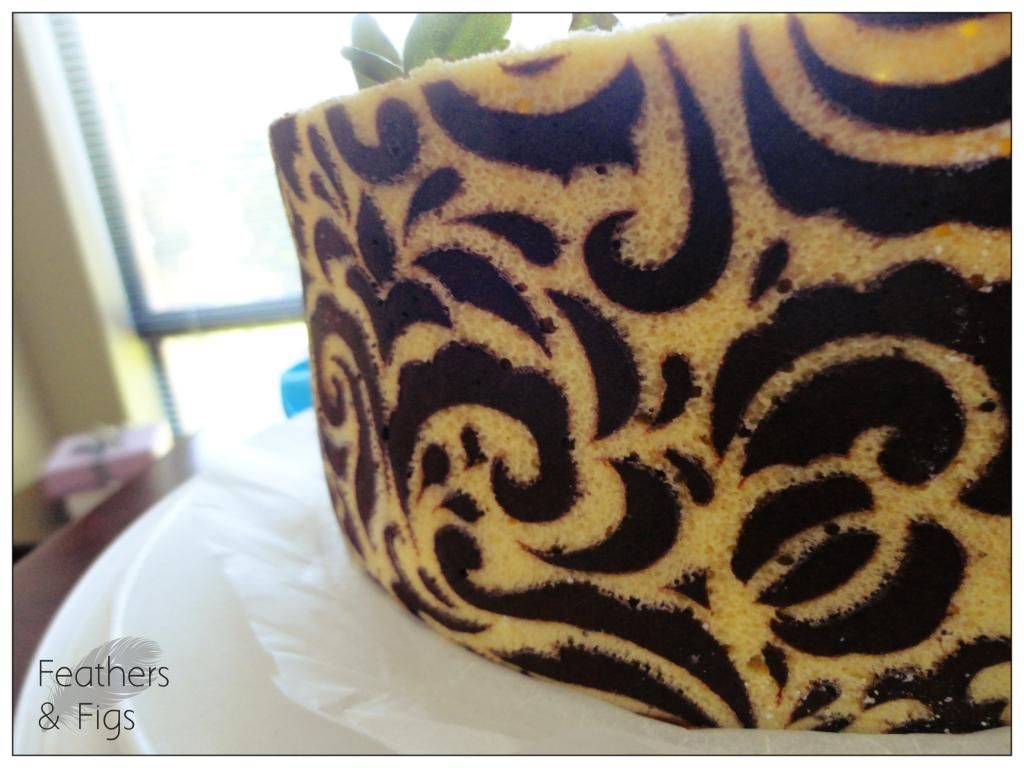
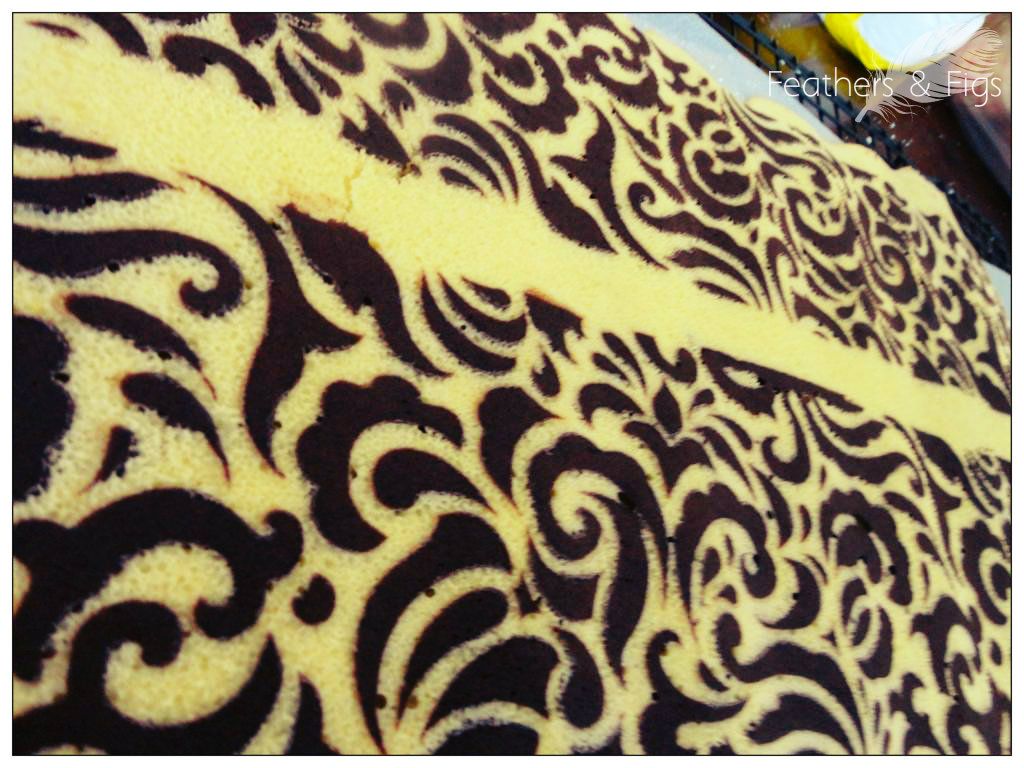
Whilst visually stunning and a genuine crown pleaser, a joconde imprime cake is not that difficult to master in practise and is comprise of just two key parts. First there is the joconde imprime itself (the pretty cake wrapped around the outside) which is essentially a decorative chocolate pattern drawn onto a baking sheet with almond sponge mix poured on top and baked so that the chocolate pattern becomes imprinted in the cooked sponge. Secondly there is the entrement (literally translating to "in between servings") which is the layering of sponge with some sort of mousse, cream, Bavarian filling etc. contained inside the joconde imprime wrapping.
Seem simple enough so far? If not, never fear! I have a simple recipe for a chocolate mousse filled version below!
As seems to be occurring annoyingly frequently lately, I was once again running short of time when it came to making this cake and as a result it was certainly not the ideal result I was after and certainly won't be winning any awards any time soon (though by all reports it was delicious!). For example, because I was so excited to use the full width of my stencil and because I was making up the cake filling as I went along I didn't quite have enough filling to reach the top of the joconde wrapping etc. On the plus side, I was really pleased with how the joconde imprime turned out!
For your benefit I have adjusted the quantities so you aren't caught short on mousse as I was!

Chocolate Mousse Cake with Joconde Imprime
Makes a 23cm round cake
For the Chocolate Decor Paste
100g unsalted butter, room temperature
100g icing sugar
100g egg whites (approximately 3 large eggs), reserve egg yolks
85g plain flour
30g dutch processed cocoa powder
For the Joconde Sponge:
135g egg white (approximately 3 large egg), reserve egg yolk
15g caster sugar
120g almond meal
120g icing sugar
45g cake flour
45g unsalted butter, melted
120g almond meal
120g icing sugar
45g cake flour
45g unsalted butter, melted
For the Mousse Filling:
3 sheets gelatin (I used titanium strength)
80g granulated sugar
3 tsp glucose syrup
30g water
100g egg yolks (about 6)
350g dark chocolate, coarsely chopped
3 cups cream (35% fat content)
For the Ganache Topping:
350g Dark Chocolate
5 tbsp cream (35% fat content)
 |
| Pretty, pretty stencil! |
So to start you make the chocolate decor paste which will be used to make the pattern on the sponge.
Cream butter and sugar in an electric mixer until light and fluffy and then add the egg whites a little at a time, beating continuously. Fold in sifted flour and cocoa until it is smooth and well combined.
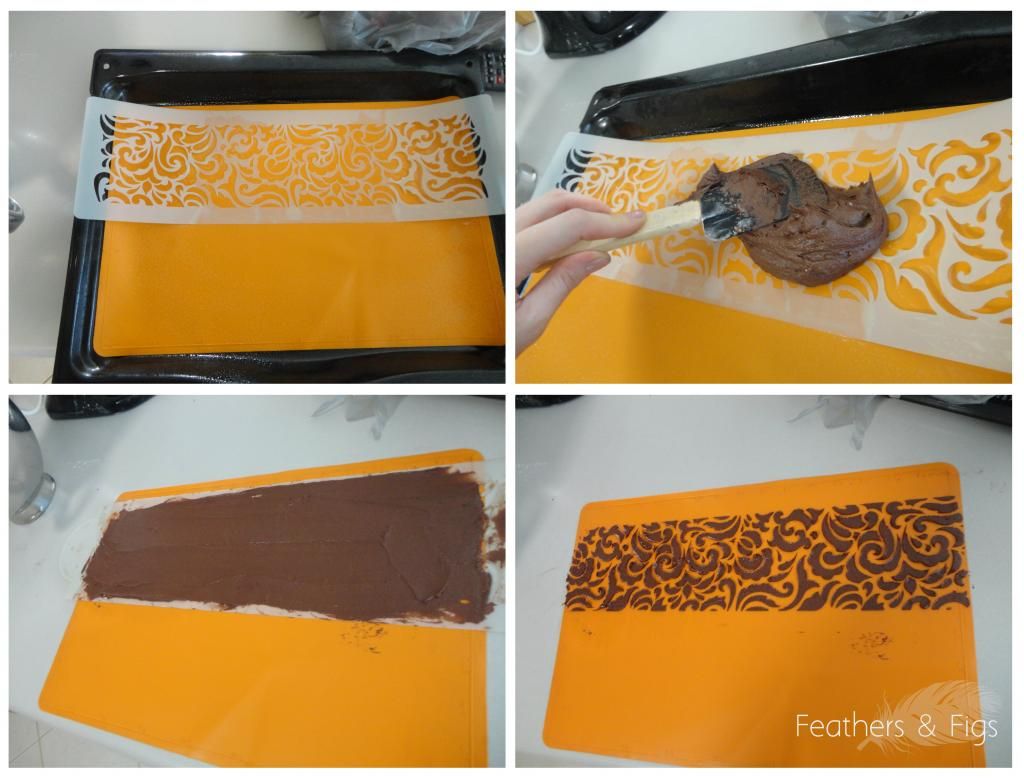
To make the actual pattern you can use a stencil like I did (as shown in the pretty pictures above) or simply use your fingers, skewers, knives or whatever else you want to pattern it. Simply spread a thin layer of paste (around 5mm thick) onto a large silicon baking mat (unlike ordinary baking paper these mats can go in the freezer, oven etc without shrinking, warping etc.).
Pattern your paste as desired and put into the freezer for about half an hour or until well chilled and firm - if it is not frozen for long enough the chocolate will 'melt' into the vanilla sponge when it cooks and your design won't be as clear and neat!
While the decor paste is in the freezer, prepare your joconde sponge mixture
Preheat oven to 250°C
Whip the egg white and caster sugar to firm, glossy peaks.
In a separate bowl, sift almond flour, icing sugar and plain flour together and then gradually beat in reserved egg yolks until fully combined.
Fold in 1/3 of the egg whites to lighten the batter, then fold in the rest until just combined. Fold in melted butter, pouring it down the side of the bowl into the mix to prevent it whacking the air out of the mixture (remember, we want light sponge goodness not rubbery mess!)
Now its time to put the two together - assuming of course your decor paste is properly chilled! No one likes a sloppy cake design so make sure its ready before proceeding...
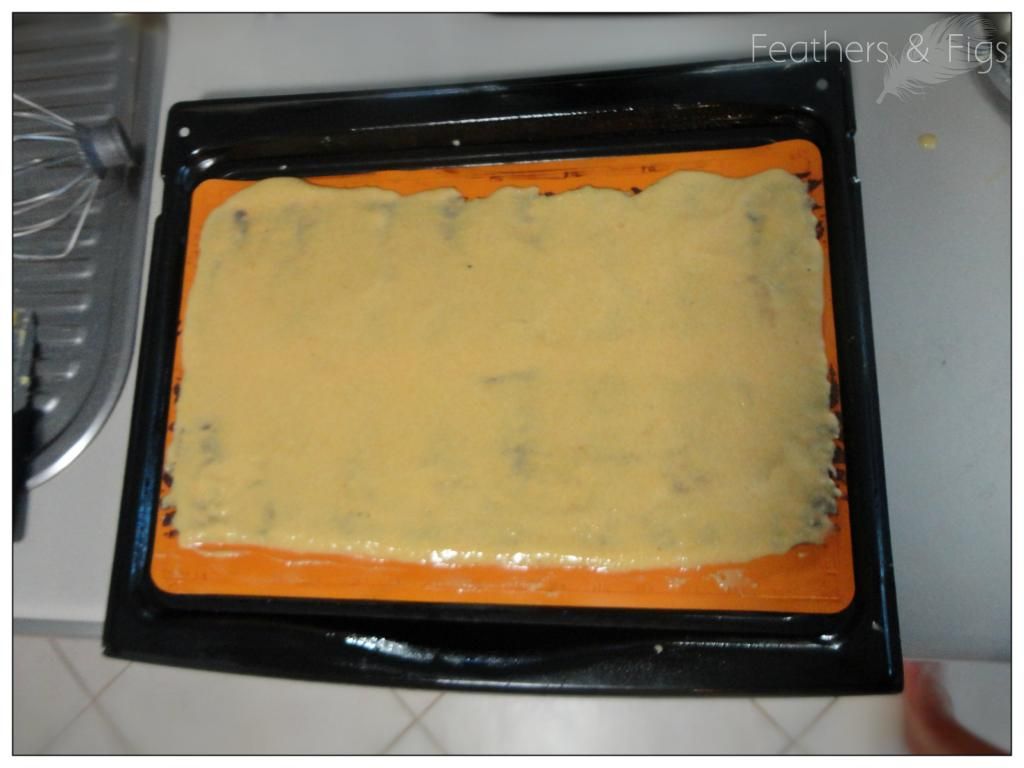
Pour 1/3 of the sponge mixture over the top of the decor paste and spread evenly to make sure it is entirely covered.
Divide the remaining mixture between a 20cm round cake tin and a 23cm tin (or you can just pour it all into a large baking tray and trim it to fit later, it just wont be as neat a finish).
Throw the sponge mixtures into your preheated over for 6-8min or until just starting to colour and the sponge jumps back when pressed lightly. At this point make sure you don't walk away and take a shower, make a phone call or spy on those pesky neighbourhood kids creating shenanigans on your lawn... or whatever else may distract you on a normal day... because this sponge cooks quickly and therefore burns easily!
Remove from oven and allow to cool slightly then invert each sponge onto baking paper (so your pattern is facing upwards) that has been dusted with icing sugar (this will prevent stick-age) and remove silicon mat.

Once completely cool trim the sponge the remove any burnt bits and cut the decor paste decorated piece it into long strips about 12cm high (this was the height of my stencil and I couldn't bring myself to chop off any of my pretty patter, but your could adjust this to suit your own design if you want - just remembers the amount of filling you will need will vary with the height of your cake!).
To make the chocolate mousse filling
Beat the egg yolks until very light and almost white in colour (approximately 5 minutes.
Cook the sugar, glucose syrup and water on medium heat for approximately 3 minutes (118°C) on a sugar thermometer).
TIP: If you do not have a candy thermometer, test the sugar temperature by dipping the tip of a knife into the syrup then into a bowl of ice water, if it forms a soft ball in the water then you have reached the correct temperature.
Pour the sugar syrup to the yolks in a thin stream while continuing to beat the yolks and continue beating the mixture until cool (approximately 5 minutes). The batter should become thick and foamy.
Place the chopped chocolate and 4 tablespoons of the cream in a microwave safe bowl and heat in the microwave until the cream boils (about 1 minute on high). Stir the mix until melted and smooth.
Soak the gelatin for about 5 minutes (or as the packet instructs) and then wring off water and add to the chocolate mixture and stir until well combined and smooth.
Whip the remainder of the cream until stiff and then stir in ½ cup of the whipped cream into the chocolate mix to temper. This step is important as it tempers the chocolate! If you add all of the cold cream to the hot chocolate mixture it will split and curdle and be generally gross... just don't go there and avoid the trouble by tempering!
Add the egg yolk mix to the chocolate mix ands then fold in the rest of the whipped cream with a spatula.
To start assembling, line a 23cm round cake tin with baking paper, leaving a collar of paper at least the height of your trimmed sponge strips poking out the top.
Take the decorated sponge strips and place then inside the cake tin with the patters facing outwards so that they line the walls of the tin and make a neat circle, pressing any joints between strips together with your fingertips so that they stick together and form one full circle.
Place the 23cm round sponge in the bottom of the tin to form a tight fitting base (trimming it if necessary to fit).
Pour half of the mousse filling into the mould and top with the remaining 20cm piece of sponge. Pour the rest of the mousse on top and tap the tin on the bench to ensure any air bubbles are removed and the moussed has gotten into all the cracks and crannies.
Refrigerate overnight or for at least 6 hours, until set.
Make the ganache by melting the chocolate with the cream in the microwave and stirring until smooth and pour over top of the mousse filling. Refrigerate the cake again until firm and then remove from the cake pan mold and decorate as desired (I topped mine with chocolate shavings and strawberries!).
Ta-da! Enjoy! xo
This comment has been removed by a blog administrator.
ReplyDeleteThis comment has been removed by the author.
DeleteHi, where can I buy such a stencil?
ReplyDelete