
Apologies for the terribly clique and totally unoriginal post title... I have been at work all day and unfortunately the functioning part of my brain seems a little unsparked! Nevertheless, I will try to string together some coherent sentences, add some pretty pictures and create some sort of half-decent post!
Like many self-confessed foodies, in the past few years I have fallen in love with the macarons - the more flashy, little rich kid of the biscuit community! The crisp outside, gooey centre and virtually limitless flavour combinations that can be crammed into these little delicacies makes them the perfect treat for those who love to experiment with their cooking. Just one trip to Adriano Zumbo's now famous patisseries and you will see what I mean! Every year these stores host the annual Macaron Day where people queue down the street just to grab a box (or two...or three...) as all the flavours are wheeled out - this years selection varied from the humble chocolate or lychee flavoured to the more unconventional Redskin, Caramelised Hummus, Duck Pancake and even Fried Chicken (yup, those babies are actually deep fried!). Needless to say this won't be my last post on the subject!
Whilst I have tried and tested many different flavour combinations myself (salted caramel, simple as it is, remains my fave!) I had never before really experimented in crazy-ing up the macaron shell, until now that is! May I present to your my first attempt at the tri-colour macaron!
*drum roll please...*
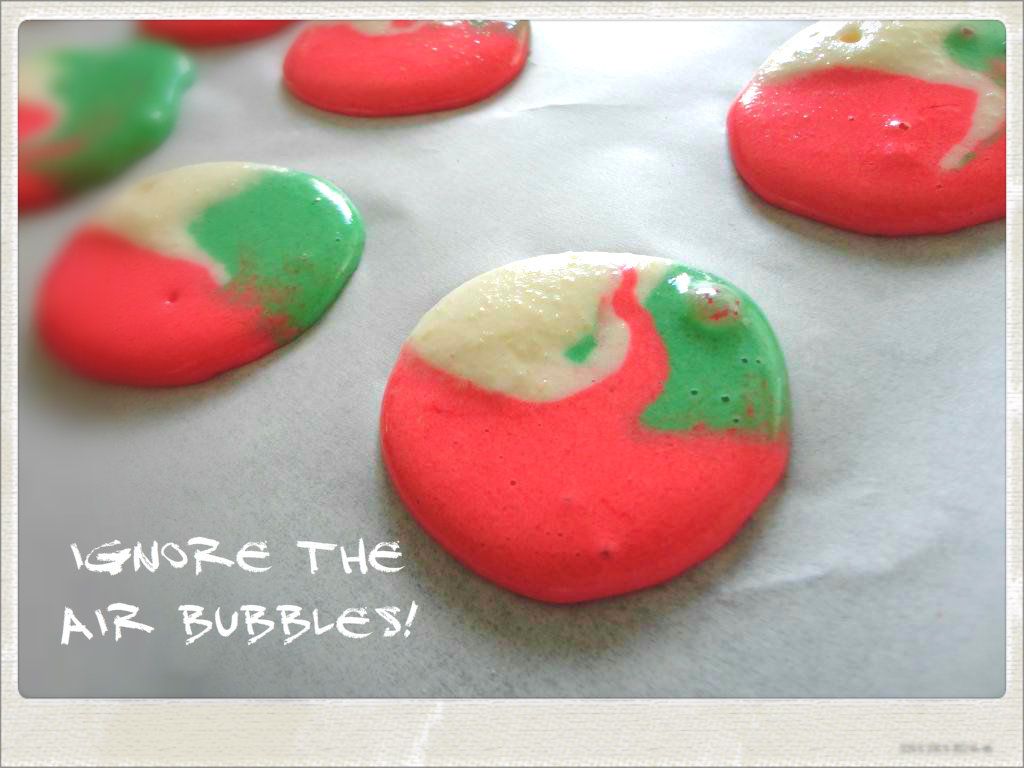
As you can see my first attempt was not exactly a total success, I was a little rushed and trying to navigate a new recipe as I went which resulted in some air bubbles (see Exhibit A. above!), the white mixture being a bit thicker than the red and greens and some logistics issues in stuffing the three mixtures together into the one bag without covering myself in sticky, Christmas coloured joy!
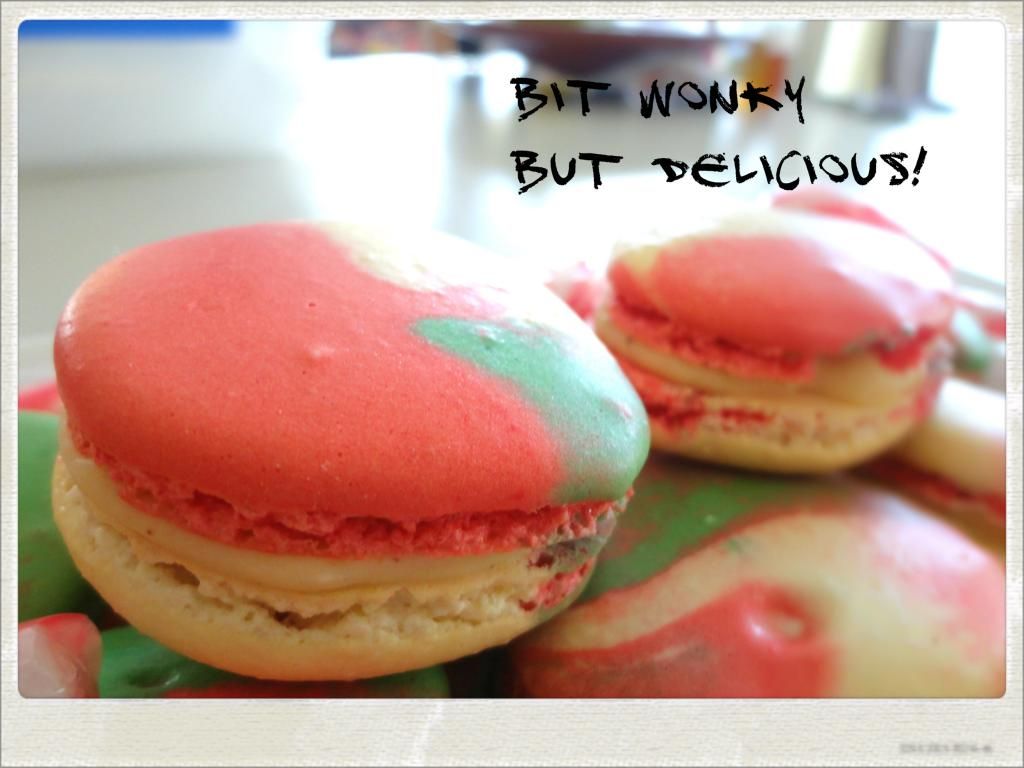
Nonetheless I persisted and the result, though somewhat imperfect, was no less delicious. Particularly when filled with an 'Eggnog' inspired ganache...
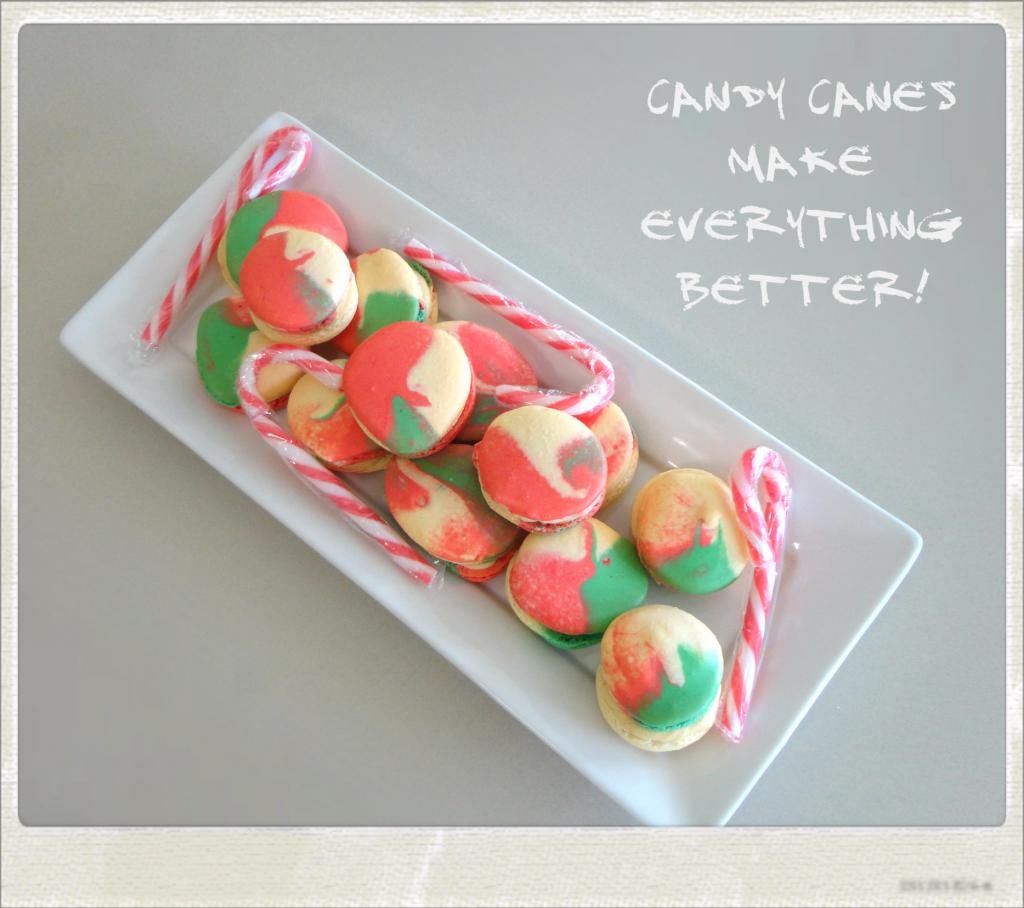
Christmas Macarons With 'Eggnoggy' Filling
For the Macaron Shells:
2 egg white (at room temperature)
100g icing sugar
60g ground
almond
60g caster sugar
1 tsp red powder food colouring *
1 tsp green
powder food colouring *
*How much you need will depend upon the exact shade of colour you want to achieve, the brand of colouring used etc. so just add a little at a time until you get the colour you want.
Method:
1. Put ground almond and icing sugar in a food processor or a small blender and process until they are finely ground.2. Sift the blended mixture and set aside
3. With an electric beater (or your ass-kicking Kitchenaid mixer!), beat the egg white until frothy (start from low speed and increase slowly to maximum speed).
4. Add in the caster sugar in a little at a time and continue to beat at maximum speed for around 2 minutes until they reach the stiff peak stage.
5. Fold the dry ingredients into the egg whites with a spatula until the mixture is incorporated (don't overwork at this stage like I did! It only need to have just come together!)
6. Divide the mixture into 3 parts and add the red food colouring to into one part and the green food colouring in the second part, leave the third part white.
7. Fold each mixture until the batter flows smoothly (so it looks 'magma-like')
8.
Spoon each mixture into a zip lock sandwich bag and snip the ends to make little piping bags then, trying not to squeeze the mixture out, put all three bags into a larger piping bag so they are at the same height (i.e. so when you go to pipe the colours come out at the same time)
9. Line several baking trays with baking paper and carefully pipe out the macarons (aim for a roughly 2cm diameter, or whatever size you are after!)
10. Leave the macarons for at least half an hour for the 'skin' to form (when you gently touch the shell your finger shouldn't stick to it!). How long this will take can depend on the weather, temperature, humidity etc. so just keep gently poking them until they are ready. Poke, poke, poke!
11. Bake them in a 160C oven for about 7 min then turn the tray around to (to ensure they bake evenly) and cook for a further 7 min or until firm to touch ( to test if the macaron is cook, touch softly on the shell and when the macaron
doesn't slide on the feet, it's ready!). If not yet ready keep a close eye on them and give them another test every minute or so.
12. When finished take out of the oven and leave to cook completely on the baking trays.
For the Eggnoggy Filling:
200g white chocolate
80ml cream (I use whipping cream)
Brandy
Ground Nutmeg
Ground Cinnamon
1. Break the chocolate into even sized pieces and pour over the cream
2. Microwave on high for 30sec, stir well and microwave for a further 30 sec
3. Continue the above step until the chocolate is completely melted
4. Stir in as much of the brandy and spices as you like (some like it spicy, some subtle!) - I used roughly 60ml of brandy and about a tsp of each spice.
5. Set the mixture aside to cool and thicken and when ready pipe onto one macaron shell and sandwich with another shell.
6. Voila! You are done, now go eat those delicious little babes and enjoy!
FYI, the recipe for the macaron shell is largely based on the recipes provided at http://www.macaron-fetish.blogspot.com.au/ - a wonderful blog recommended to me by one of my fellow Masterchef auditionees! Anyone keen on macaron-age should definitely check it out as it provides step-by-step and very detailed instructions on how to create macarons and also some great tips for overcoming those common mistakes!
Right post done, the hour is late and my eye-bags are hanging low and swaying too and fro... must be time to go!
Ciao! xo
No comments:
Post a Comment